

1/19/19 NOTE: The instructions below have been re-published here from my old website, which I have since taken down. I’ve edited the text a bit for clarity, but the instructions are still valid. Enjoy!
——————————————————————————————
Conductive inks have a myriad different interesting applications. As a quick, additive construction method for electronic circuits, they are especially intriguing. Unfortunately, for a long time they have been just out of reach of the hobby market. They are too expensive to buy in decent quantities, too complicated to make, too resistive to be practical, or require high annealing temperatures (which would ruin many of the materials you’d want to put traces on).
Now, though, thanks to some brilliant minds at the UIUC Materials Research Laboratory, you can make your own decent conductive ink!
This ink seems to address many of the problems that other inks have. It’s particle free (won’t clog print heads!), is easy to make, and anneals to the conductivity of bulk silver at only 90 degrees Centigrade (194 degrees Fahrenheit).
After I stumbled upon this paper last month, I decided that I absolutely had to make some.
I am not a chemist, nor have I done any chemistry since high school, so I ended up having to buy both the glassware as well as the chemicals. Even after buying everything that I needed (and some stuff that I probably didn’t), I only spent around $150.
For those of you who want to repeat the process, here’s my list of purchases:
CHEMICALS:
- Silver Acetate (99%) – Ebay: $25

- Formic Acid (>= 88%) – Ebay: $9

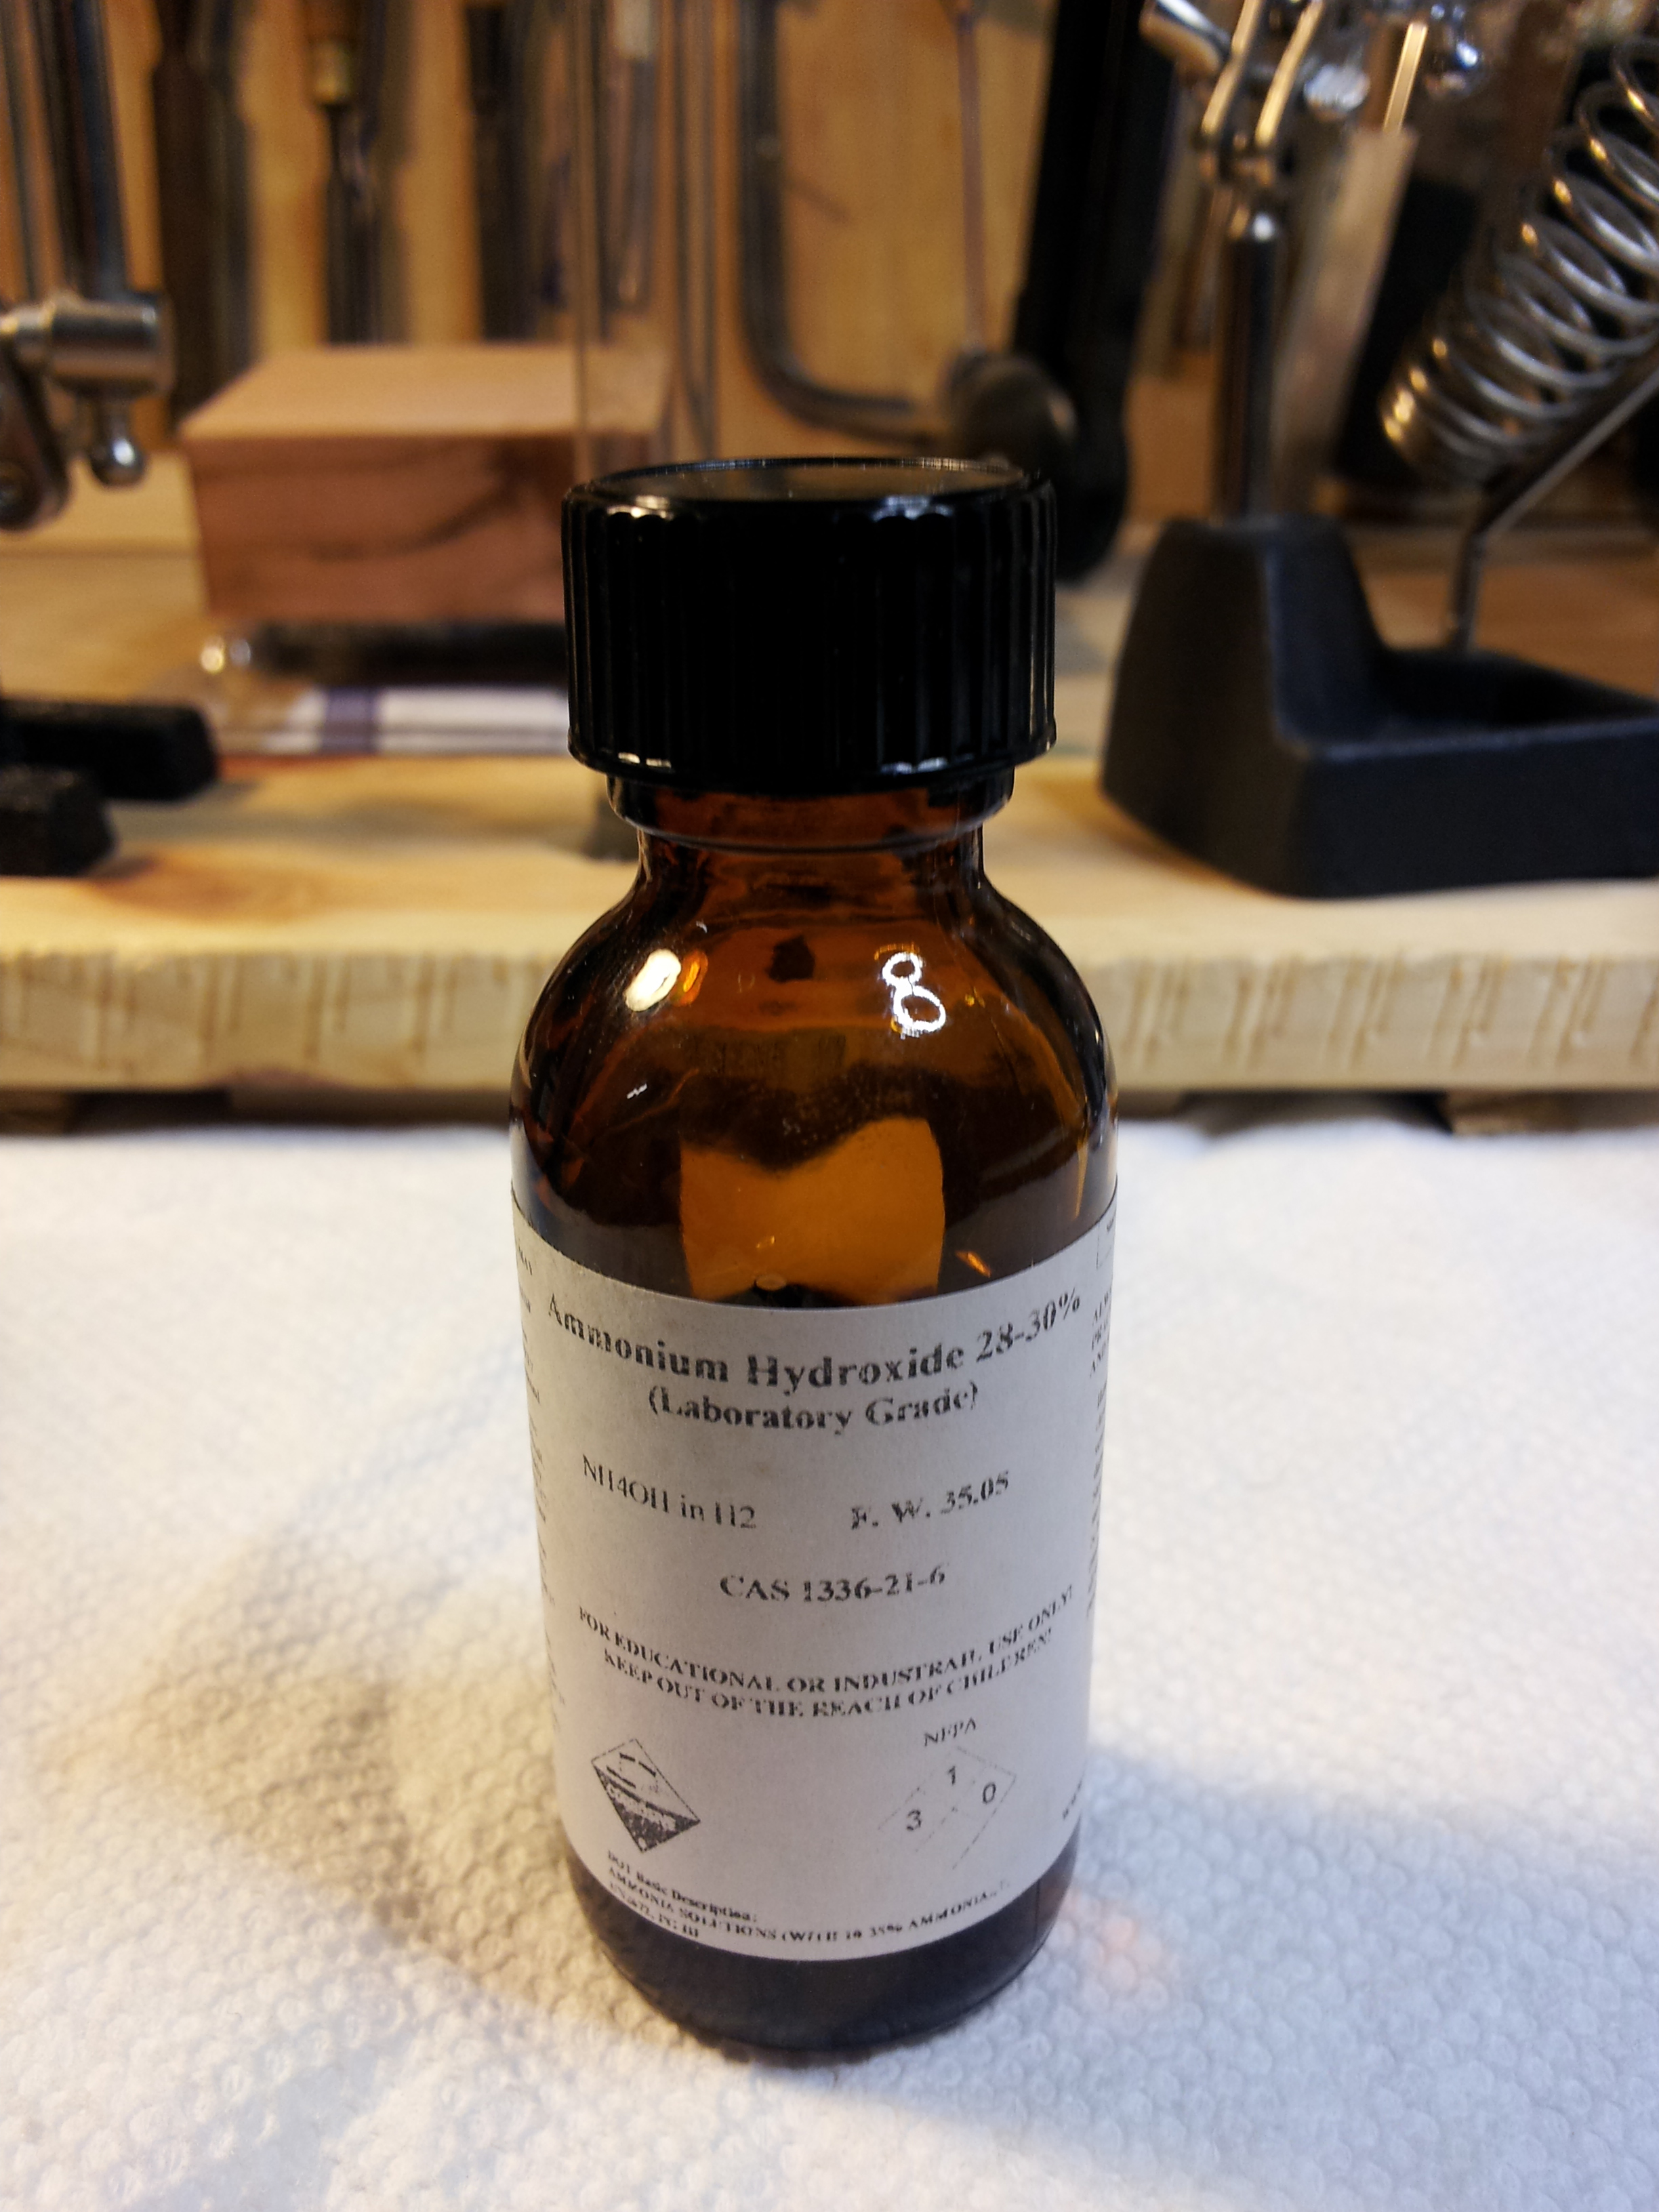
- Ammonium Hydroxide (28-30%) – Ebay: $7
GLASSWARE AND TOOLS:
- (2) 100mL Glass Beakers – Amazon: $4.52
- (2) 5mL Mohr Pipettes – Amazon: $5.90
- (1) Pipette Pump – Amazon: $9.99
- (5 pack) 6cc Luer Lock Syringes – Amazon: $4.99
- (10 pack) Luer Lock PVDF 0.2um Syringe Filters – Amazon: $14.66
- (10 pack) Pyrex Glass Test Tubes – Amazon: $3.49
- (12 pack) 1 Dram Glass Vials – Amazon: $3.75
- (125 pack) Small Weight Boats – Amazon: $3.99
- 0.01 g Increment Digital Pocket Scale – Amazon: $12.59
- Neoprene Gloves – Home Depot: $4.98
- Vortex Mixer – FREE! – I made one by following the instructions
here. (UPDATE: The video is no longer present on youtube. So I’ll film my own soon…) - (2) Pipette Holders – FREE! – I removed parts from a couple of third hands and used some rubber bands to hold the pipettes in.
- Test Tube Stand – FREE! – I drilled a hole in a piece of wood…
TOTAL: $109.86 (plus shipping)
After receiving the materials and reviewing the proper MSDS sheets (1,2,3) I got to work.
NOTE: Please don’t do this at home unless you understand the risks and dangers and know how to avoid them. In fact, it’s best that you have a chemist or someone experienced with how to handle chemicals properly help you.
Ammonium hydroxide is nasty stuff. Formic Acid is even worse (It’s basically liquid pain. It’s the chemical in ant bites and bee stings that makes them hurt). Please respect this stuff.

PROCESS:
(All of the instructions I have listed here were extrapolated from the journal article from UIUC.)
Part 1
- Make sure your glassware is clean!
- Pour about 3 mL of Ammonium hydroxide into a glass beaker.
- Use a pipette (and pipette pump) to draw exactly 2.5 mL out of the beaker and deposit it into a test tube.
- Tare the scale with one of the weight boats on it.
- Measure out exactly 1 gram of Silver acetate into the weight boat.
- Pour the Silver acetate from the weight boat into the Ammonium hydroxide in the test tube. (It may stick to the sides of the tube. That’s ok, just tilt and roll the tube to get the Ammonium hydroxide to dissolve into the solution.)
- Vortex mix the test tube for 15 seconds.
- Set the test tube aside.
- Pour about 0.5 mL of Formic acid into a second glass beaker.
- Use a second pipette (and the pipette pump again) to draw exactly 0.2 mL out of the beaker.
- Drip the 0.2 mL of Formic acid into the test tube of solution one drop at a time, vortex mixing between each drop.
- After mixing for the final time, the solution should be a grayish-black color.
- Set the test tube aside for 12 hours to let the large silver particles settle to the bottom.

Part 2

- After the 12 hours have passed, you should see a clear solution in the test tube with a grayish sediment in the bottom.
- Then, pull the plunger out of the back of a syringe.
- Place a 0.2um syringe filter onto the the syringe.
- Open a vial and place it under the syringe.
- Decant the solution in the test tube into the back of the syringe.
- Place the plunger back into the syringe, and force the liquid through the filter and into the vial.
- Once all of the liquid from the syringe is in the vial, you’re done!
- You now have a solution which will evaporate upon annealing and leave behind silver!
- Profit.

USING AND ANNEALING THE INK:
- To use the ink, first find a way to apply it. I used a very thin paint brush.
- Choose something to apply it to (your substrate), and paint it on, leaving a thin layer of the solution behind.
- Place the substrate into a toaster oven (or some other heating device) that is set to about 192 degrees Fahrenheit.
- Wait 15 minutes. You should see the liquid turning a brown color, then a silver-white color.
- After 15 minutes, remove the object, and you should have a conductive silver coating.

ATTEMPTS:
The first thing I tried was silver acetate on regular printer paper.

It didn’t work. I’m guessing the paper is too porous, while the silver is coating the paper fibers, the individual particles are too far apart to conduct electricity between each other. Even after 3 coats, I was unable to get the paper to conduct. More experiments are pending…
The second thing I tried was thread. Again, this didn’t work. I’m thinking the reason is similar to the paper.

The third thing I tried was glass. This worked!
The resulting traces were a bit low in conductivity for ink. The first reading I got was about 9 Ohms over a centimeter. (Your mileage may vary)

I was able to light up an LED using the traces.
Then I tried stenciling it by applying masking tape and then laser cutting the stencil into the tape.

I then applied the ink over the tape, and annealed it. Unfortunately, the tape didn’t quite stick so well, so some of the ink flowed underneath it…

I tried again, heating up the tape pattern and making sure it was thoroughly stuck to the tape.

Better, but there was still one problem; the ink scraped off quite easily. If I wanted to use the ink for anything practical, I’d have to fix it.
Since it was 3am, and I was finally tired enough to try anything, I laser etched a piece of glass into the shape of the trace that I wanted. My reasoning was that the rough surface of the etched glass would help the silver stick to the glass, and also provide a “trench” for the silver to be deposited into.
The first attempt didn’t work… but after the second coating, it worked! I’m guessing that the rough surface of the engraving had too many little peaks and valleys which kept the silver from forming a uniform surface.
The other benefit of the laser-etching method was that I didn’t need a stencil anymore. The trench allowed me to wipe the excess solder from around the trace without removing the silver deposited in the etching.
I wasn’t able to solder directly to the silver surface, but I did have a Circuit Writer silver-based pen. I coated the pads in the Circuit Writer ink, and after it solidified (about 10 minutes) I was able to solder components directly to the pad.
This is my first finished circuit on a glass substrate.

I’m pretty satisfied with it.
There are plenty more things to try, and methods to apply, and I’ll continue to document them on this blog, so stay tuned! Of primary importance is increasing the conductivity, which should be possible by thinning it with alcohols.
If any of you make your own ink, please let me know! I’d love to hear about other people’s work.
Special thanks to Sacha De’Angeli, @IdeaPDish, and Steve Finkelman for their advice! Also thanks to Pumping Station: One, where I did all of this work!
– Jordan